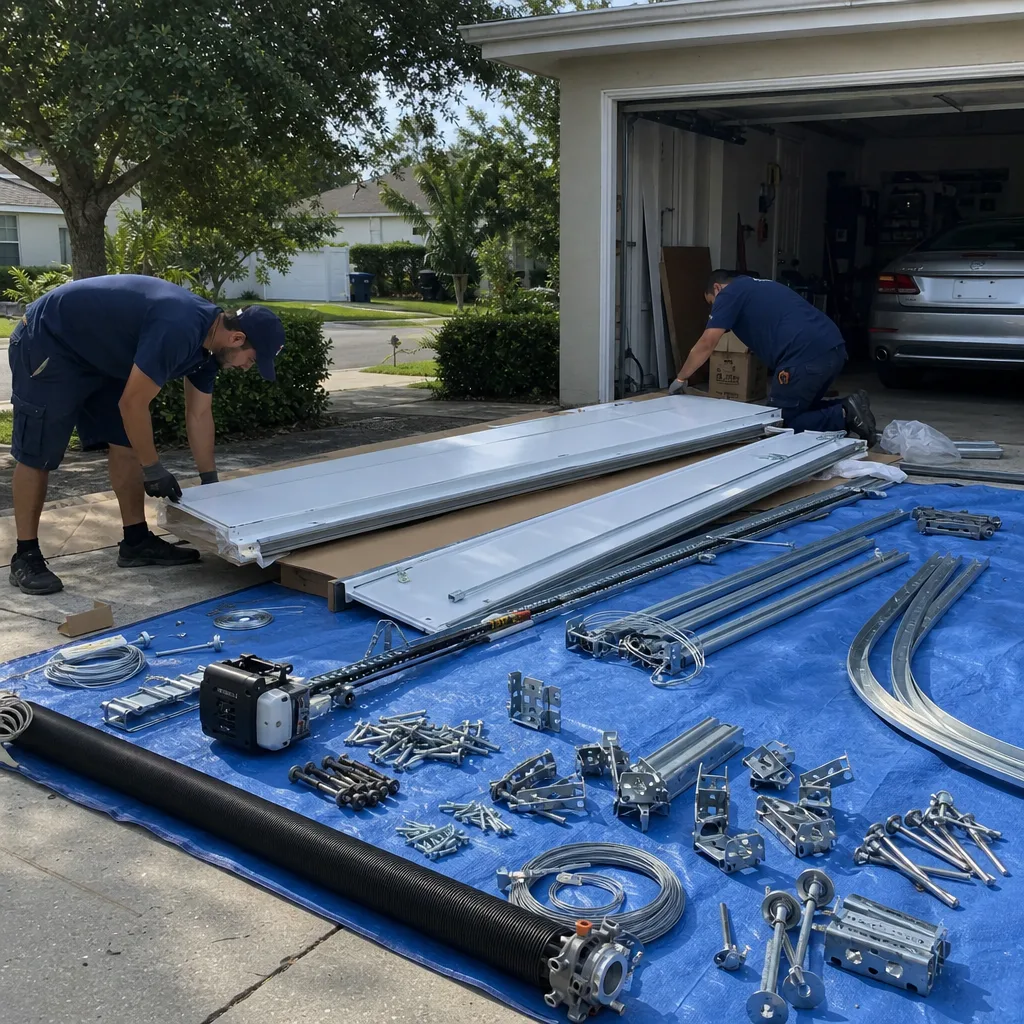
Last updated November 22, 2026
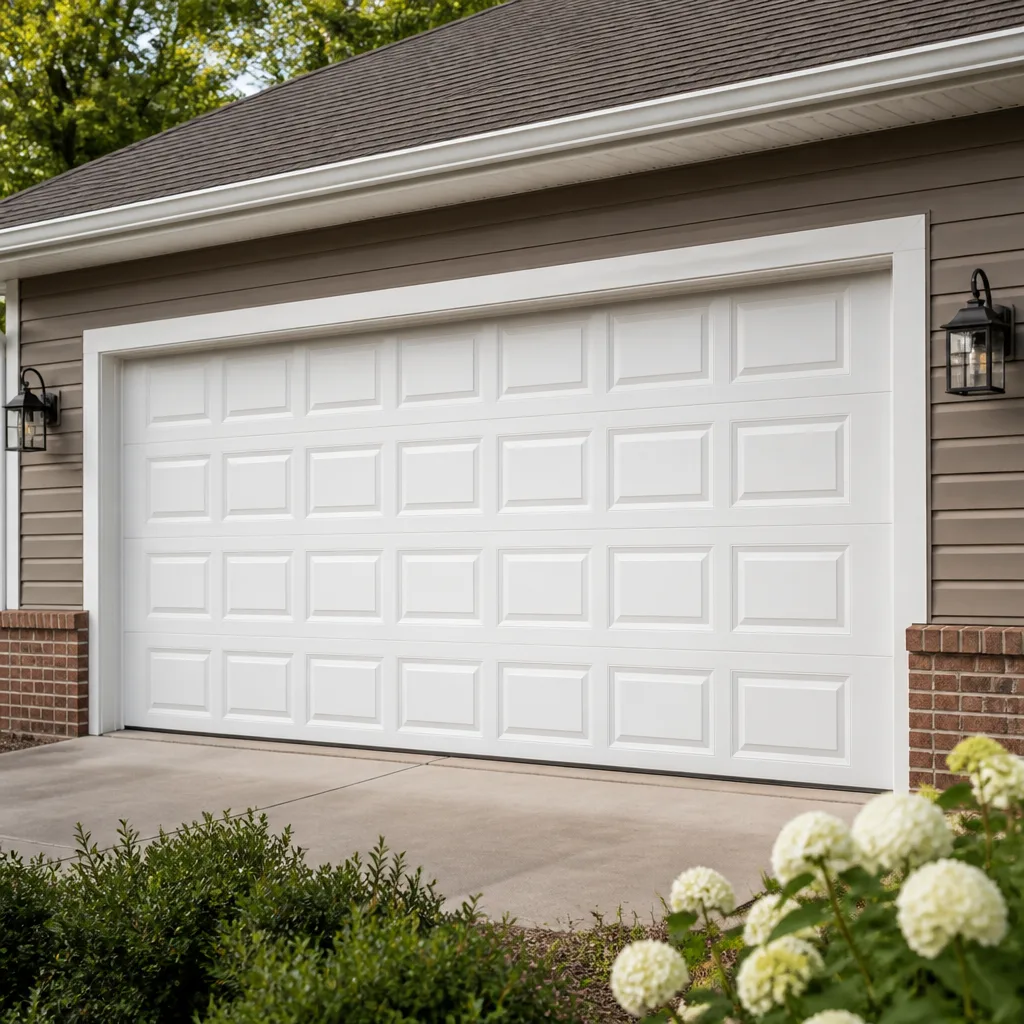 Raised-panel steel
 Carriage house
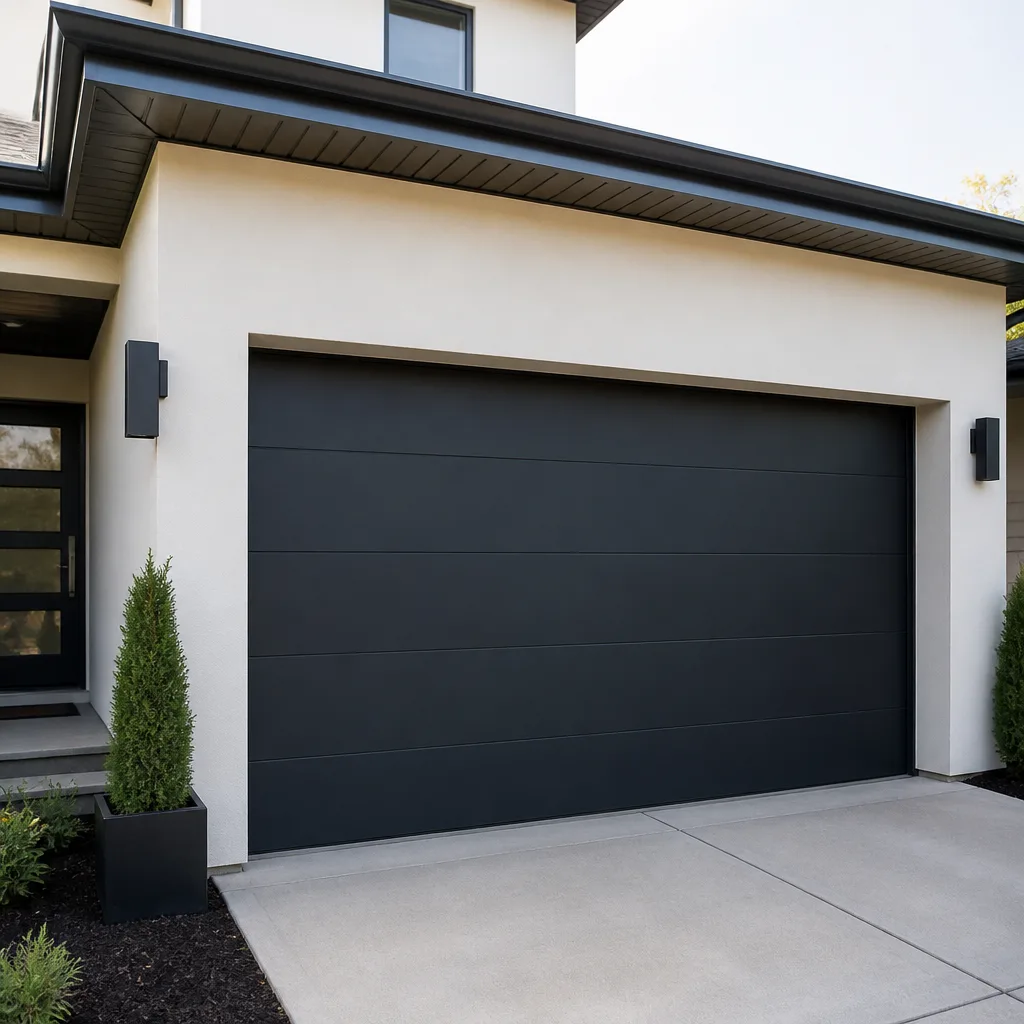 Modern flush
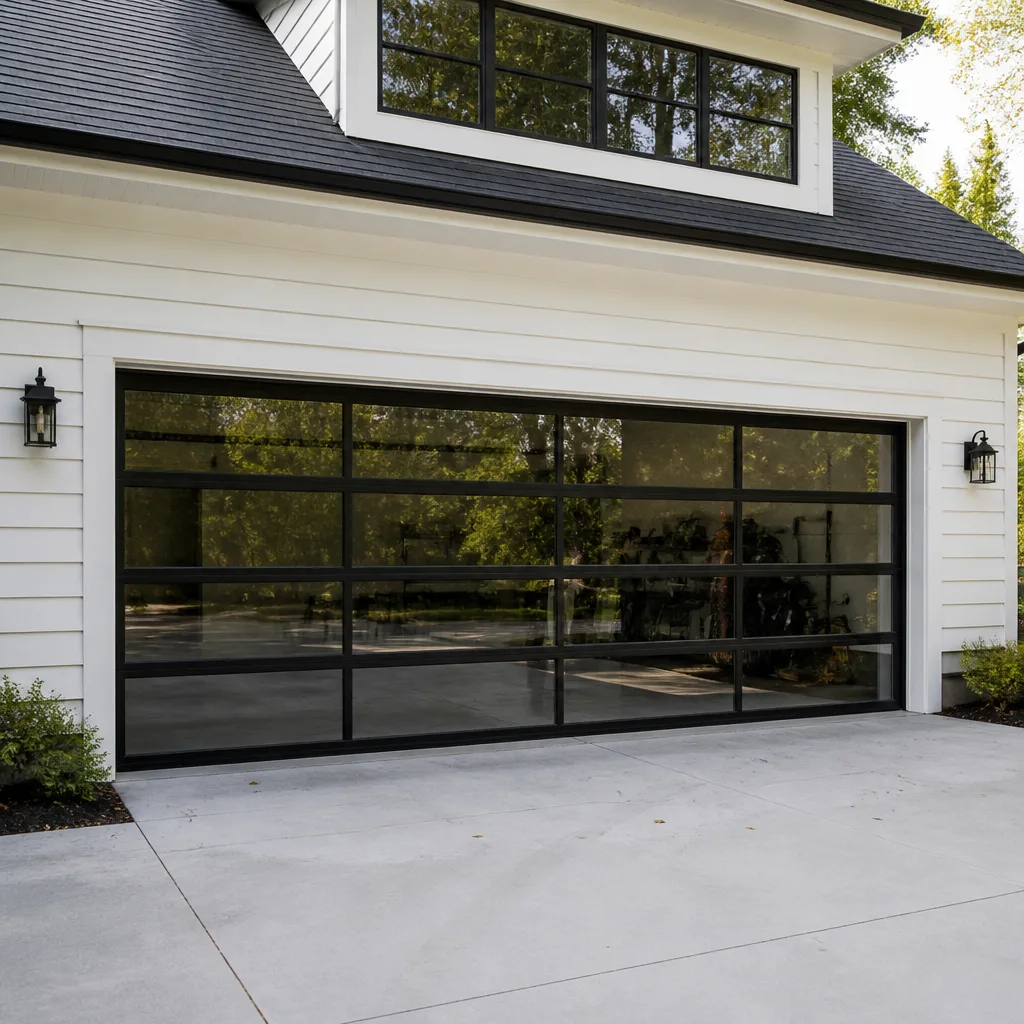 Full-view glass
 LiftMaster openers
 Chamberlain openers
Full 25-point door and opener safety check with every visit - springs, cables, rollers, tracks, and your LiftMaster or Chamberlain opener included
You get a price before we start. It does not change when the pro arrives.
Get your free estimateGarage Door Repair Maintenance Checklist for Kenwood Homeowners
The number one cause of avoidable emergency garage door calls isn’t neglect. It’s maintenance done in the wrong order. A homeowner lubricates a stiff roller before checking the spring, so the real problem stays hidden behind the symptom. Someone tightens a loose bracket before looking at the cable, and the cable lets go a week later. Sequence matters more than effort. This guide gives you a month-by-month checklist built around Kenwood’s wet season, the hurricane prep window, and post-storm recovery, along with the exact tolerances that tell you what “worn” actually looks like. You’ll learn what to check, when to check it, and which five checks belong to a trained technician.
Quick Answer
A working maintenance routine for a Kenwood garage door means checking the balance, springs, cables, rollers and weather seal every month, lubricating moving parts with a humidity-appropriate product, and clearing the tracks of grit before and after the wet season. The checks you can safely do yourself are visual and low-touch: look, listen, and note. The checks that involve high-tension springs, cables under load, and the opener’s internal drive should go to a trained technician. Time your routine around Kenwood’s rain and the June-to-November storm window so small issues surface before a storm forces them.
Styles & brands we work with
- Raised-panel steel
- Carriage house
- Modern flush
- Full-view glass
- LiftMaster openers
- Chamberlain openers
Table of Contents
- Why the Order of Your Checks Matters More Than the Checks
- The Wet Season Calendar: What to Check and When in Kenwood
- Hurricane Prep: The Pre-Storm Garage Door Sequence
- Post-Storm Recovery: What to Inspect Before You Use the Door
- What “Worn” Actually Looks Like: Springs, Rollers and Cables
- Lubrication for High-Humidity Florida: What Works and What Backfires
- How to Log Findings So a Technician Gets History, Not Vague Sounds
- The Five Checks That Need a Technician (and Why DIY Voids Warranties)
Why the Order of Your Checks Matters More Than the Checks
Most maintenance advice lists what to check but never says what order to check it in. That gap causes real trouble. If you lubricate a roller that’s binding because a track is out of alignment, you’ve just masked the symptom and made the real problem harder to find. If you test the opener’s force settings before confirming the door is balanced, you’re tuning a motor against a mechanical fault. The motor wins the test and the door loses the spring.
The right sequence runs from the structural to the cosmetic. Start with the door closed and disconnected from the opener. Check the balance and the spring first (visually only), then the cables (visually only), then the tracks, then the hinges and rollers, then the weather seal, and only then move on to the opener. Each check depends on the one before it being correct. A balanced door makes the opener test meaningful. A clean track makes the roller test meaningful. If you reverse that order, a small issue stays locked behind a bigger one, and a technician visiting three months later has to unpick everything to find it.
In Kenwood, the sequence also has a seasonal dimension. The wet season stresses seals, tracks and rollers with grit and moisture. The storm window stresses the whole assembly with wind load and debris. So your routine has an annual rhythm on top of the per-visit order. We’ll get to that rhythm next.
If at any point a check tells you the door is out of balance, the spring looks damaged, or the cable is frayed, stop. The rest of the checklist waits. That’s the exit ramp into a garage door repair visit before anything else gets checked.
The Wet Season Calendar: What to Check and When in Kenwood
Kenwood’s calendar breaks into three useful windows for garage door care: the dry stretch, the wet season, and the storm window that overlaps the second half of the wet season. Generic quarterly buckets don’t map onto that, which is why so many maintenance plans miss the timing that actually matters here. Below is a month-by-month routine. The checks are short; the value is in doing them at the right point in the year.
- January: Visual check of springs, cables and hinges. Dry, cooler air is a comfortable time to be in the garage and a good moment to record a baseline photo of every spring and cable end.
- February: Test the balance of the door by hand (door disconnected, lifted halfway). Note how it feels. A balanced door stays where you leave it.
- March: Lubricate hinges, rollers, and the torsion bar bearings with a product suited to humidity (more on that below). Wipe the tracks clean.
- April: Check the weather seal along the bottom and the perimeter. This is the last easy window before the wet season begins.
- May: Full opener test, including the safety reverse. Test the photo-eye alignment. This is your pre-wet-season readiness check.
- June through September: Monthly visual checks of springs, cables and rollers. Grit and moisture build fast now. Clear the tracks every month and look for rust bloom on the roller stems.
- October: Pre-storm inspection. This overlaps the hurricane prep window and gets its own section below.
- November: Post-storm recovery inspection. Also a good time for a full professional tune-up if you’ve done the year yourself.
- December: Clean and lubricate one final time before the dry stretch. Record your year’s notes in one place.
That monthly cadence is not a lot of work. Fifteen minutes on a Saturday is enough for the visual checks, and the calendar gives each month a specific job so you’re not guessing what to look at. Homeowners in Kenwood who keep a calendar like this tend to catch worn rollers and slipping seals before they compound. If your door is new, the same calendar applies but you can loosen the frequency in the first year while parts are still tight.
Hurricane Prep: The Pre-Storm Garage Door Sequence
The garage door is usually the largest opening on a Florida home, and it’s the one most homeowners think about last when a storm is forecast. The prep sequence below is what we walk through before the June-to-November window gets serious. It’s ordered so that if you find a problem, you find it early enough to schedule a repair rather than a scramble.
- Confirm the door closes fully and stays closed. A door that stops an inch short of the floor is a vulnerability in wind. Check the seal contact and the closed position.
- Check the vertical track brackets. Loose brackets let the door rack under wind load. Look for gaps at the bracket-to-jamb connection with the door closed.
- Test the manual release. You want to know it works before the power goes out, not after. Pull the release with the door closed, lift the door by hand, then reengage.
- Inspect the spring winding and cable ends. Visual only. Look for gaps in the coils, shiny spots on the cable, and any cable end that looks like it’s pulling loose from its drum.
- Clear the tracks of grit and debris. A clean track reduces the chance of the door binding under the extra weight of wind pressure.
- Check the opener’s safety reverse one more time. If the door is supposed to reverse on contact and it doesn’t, that’s a repair call, not a storm-week fix.
- Confirm nothing is stored against the door or in the travel path. This sounds obvious until the day it isn’t.
If the door is older or the springs and cables haven’t been touched in a while, a professional tune-up before storm season is worth more than anything else on this list. Our technicians have up to 8 years of experience working on the equipment that’s typically in Florida garages, and a tune-up before the window opens tends to be the difference between a routine repair and a same-week emergency.
Post-Storm Recovery: What to Inspect Before You Use the Door
After a storm passes, the instinct is to hit the opener button and get back to normal. Don’t. A door that took wind load or collected debris needs a visual pass first. If you open it and something is wrong mechanically, the motor can force a damaged panel or a misaligned track into a worse state. Run this sequence before the first open.
- Walk the perimeter of the door from the inside. Look for bent panels, popped hinges, and any track that’s visibly out of vertical.
- Check for debris in the tracks. Leaves, twigs and grit collected during the storm will bind the rollers if you run the door.
- Inspect the cable ends at the drums. If a cable has slipped or come off, do not operate the door. Cables under tension can whip when a load releases, and this is a genuinely dangerous component. Call a technician.
- Look at the spring assembly. A broken spring often shows a visible gap in the coil. Don’t touch it. Springs are high-tension components that hold stored energy even when the door is down.
- Check the bottom seal. Storm-driven water and grit can tear or displace it. A damaged seal lets water in during the next rain.
- Test the balance by hand with the door disconnected, only if the visual checks all pass. If the door feels heavy or won’t stay put, stop and book a professional visit.
If any check fails, the right move is Garage Door Repair Kenwood rather than another test. Emergency garage door service is a core part of what we do, not an add-on. A door that won’t close after a storm is exactly the situation the service exists for.
What “Worn” Actually Looks Like: Springs, Rollers and Cables
“Worn” is the word every maintenance guide uses and almost none define. In practice, worn has a look, and once you know it you stop guessing. Here are the tolerances we use when we inspect a door. They’re visual cues you can check safely. Anything that requires touching a spring or cable under tension belongs to a technician.
Springs
A healthy torsion spring has tight, even coils with no gaps at the ends. Worn springs show a visible gap between coils near the end caps, shiny wear spots where the coils have rubbed, or (on extension springs) a stretched look where the coil diameter has opened up. A broken spring usually shows an obvious separation. Visual check only. Do not touch the spring, do not try to wind or unwind it, and do not stand under it while the door is up. A torsion spring can hold a lot of stored energy even when the door looks at rest.
Rollers
Healthy rollers have solid stems, minimal play in the housing, and a clean surface. Worn rollers wobble in the track when you nudge them with a finger, show flat spots from long sitting, or have rust bloom on the stem where humidity has started to work. A roller with side-to-side play is the one that will eventually crack the hinge it sits in. If you find one, replace all of them in that track at once rather than one at a time. They wear as a set.
Cables
A healthy cable looks like a smooth, uniform braid with no loose wires. Worn cables show broken strands, a “birdcage” where the braid has started to unwind, shiny spots at the drum end, or any visible rust. A cable with a broken strand should be treated as failed and the door should not be operated. Cables hold the door’s weight alongside the springs. If a cable lets go, the door drops. This is one of the two components where we ask homeowners to stop and call, not investigate further.
Track and Hinges
A healthy track is straight, level and clean. Wear shows as a bent section, a joint where the two halves have drifted out of line, or a roller that scrapes along the curve. Hinges wear at the pin; if the door creaks and a hinge has visible play, that’s the source. Lubrication handles hinge wear. Track alignment belongs to a technician.
Lubrication for High-Humidity Florida: What Works and What Backfires
Not all garage door lubricant is suited to humidity, and some common products actively make things worse in Kenwood’s wet season. The right choice is a silicone-based or lithium-complex grease that stays where it’s put and doesn’t attract dust. The wrong choice is a light oil or a general-purpose spray that thins out with heat and collects grit.
Here’s what works and what backfires:
- Works: A silicone spray labeled for garage door hardware, applied to hinges, roller stems and the torsion bar bearings. Reapply every few months, and more often during the wet season.
- Works: A lithium-complex grease on the torsion bar bearings and the opener rail (check the opener manual for the specific recommendation on the rail).
- Works: A dry PTFE lubricant on tracks in the wet season if you want a non-greasy option. It doesn’t collect grit the same way.
- Backfires: WD-40 or a general light oil on the rollers and hinges. It thins in heat and collects dust, which turns into a grinding paste in the track. It’s fine as a temporary unstick, but not a maintenance product.
- Backfires: Any lubricant on the tracks themselves. Tracks should be clean and dry. Grease on a track attracts grit and grit eats rollers.
- Backfires: Cooking spray, petroleum jelly, or any household item pressed into service because the right product isn’t handy. These attract insects in Florida and collect grit.
We recommend a specific product per application rather than one bottle for everything. A homeowner with a LiftMaster or Chamberlain opener should check the manual for the recommended rail lubricant; older Genie systems often want the same silicone treatment on the chain or belt. If you’re not sure what your opener wants, garage door opener repair technicians can tell you in a quick visit.
How to Log Findings So a Technician Gets History, Not Vague Sounds
“It’s been making a noise” is the least useful sentence a homeowner can say to a technician. A log of what kind of noise, when it happens, and what changed recently turns a 60-minute diagnostic visit into a 15-minute one. That’s not just faster. It’s cheaper, because the technician spends time fixing rather than hunting.
A good log has four columns and a monthly entry. Here’s a simple structure:
- Date of check. Note the day you ran the monthly visual. This anchors everything to a timeline.
- What you checked and what you saw. “Springs: no gaps, no rust. Rollers: one wobbles in the left track, near the bottom hinge.” Concrete details beat impressions.
- Sound description. “Grinding” vs “creaking” vs “popping” are different faults. Note when the sound happens: on open, on close, halfway up, at the very start.
- What you did about it. “Lubricated the hinges with silicone spray.” If the noise went away and came back, that’s a data point.
Add a photo of each spring and cable end once a year, taken from the same angle. Comparing the January shot to the October shot flips a subtle wear pattern from invisible to obvious. Two homeowners in Kenwood could describe the same failing roller as “fine” all year, but a photo pair catches it in month three.
Bring the log to the technician’s visit. Our technicians have up to 8 years of experience reading exactly this kind of history, and a log makes their diagnosis faster. If you’ve never logged a door’s findings before, a garage door installation visit is the best moment to start the file, with a baseline photo from day one.
The Five Checks That Need a Technician (and Why DIY Voids Warranties)
Some checks are safe for a homeowner. Five are not, and those five are also where most manufacturer warranties draw the line. Attempting them yourself usually voids the warranty and can cause serious injury. Here they are, with what a technician actually does.
- Spring winding, unwinding or replacement. Torsion springs hold stored energy even when the door is closed. A technician uses winding bars and a controlled sequence. A homeowner with a wrench can be seriously injured, and a mis-wound spring can let go on the next cycle. Spring repair is a named service we do every week, and it’s a job we ask homeowners to leave to us.
- Cable replacement or re-termination. Cables are under tension alongside the spring. A cable that lets go during a DIY repair is the classic case. A technician secures the door before touching a cable end.
- Track realignment. A track that looks slightly out of line is often a symptom of a mounting bracket that has shifted, or a door that has racked. Fixing the visible track without finding the underlying cause means the door will drift out of line again. A technician diagnoses the cause before adjusting.
- Opener force and travel limit adjustments. The force setting on a Chamberlain myQ or LiftMaster opener is calibrated to the door’s actual weight and balance. Turning the force up to overcome a stiff door hides a mechanical fault and can defeat the safety reverse. A technician measures the balanced weight before touching the opener.
- Hinge and bracket replacement on a loaded door. Replacing a hinge under a loaded panel means releasing part of the panel’s weight first. That’s a technician procedure, not a homeowner one.
On the warranty question: most manufacturers, including LiftMaster, Chamberlain and Clopay, require that safety-critical components be serviced by a qualified technician for the warranty to remain intact. The line is usually drawn at springs, cables, and opener internal adjustments. Routine lubrication and visual checks don’t affect the warranty. DIY spring or cable work often does. If you’re not sure where your particular door’s warranty draws the line, ask us before you pick up a tool. One call covers it.
Common Mistakes to Avoid
- Lubricating before checking. Lubricant on a binding part hides the fault instead of fixing it. Check first, then lubricate what’s actually moving freely.
- Using WD-40 as a maintenance product. It’s a temporary unstick, not a lubricant, and it collects grit in Florida humidity. Use silicone or lithium-complex products for maintenance.
- Greasing the tracks. Grease on tracks attracts grit, and grit eats rollers. Tracks stay clean and dry.
- Adjusting the opener’s force up to overcome a stiff door. That setting is a symptom catcher, not a fix. A stiff door means a mechanical problem that gets worse, not a motor that needs more force.
- Testing the balance with the door connected to the opener. The opener masks the balance. The test is meaningless unless the door is disconnected.
- Skipping checks because the door “feels fine”. Most failing springs and cables still let the door close all the way until the day they don’t. Visual checks catch them before they fail.
- Treating an annual check as enough in Kenwood. The wet season and storm window change the door’s condition faster than an annual routine accounts for. Monthly visual checks in the wet season are the difference.
See the difference
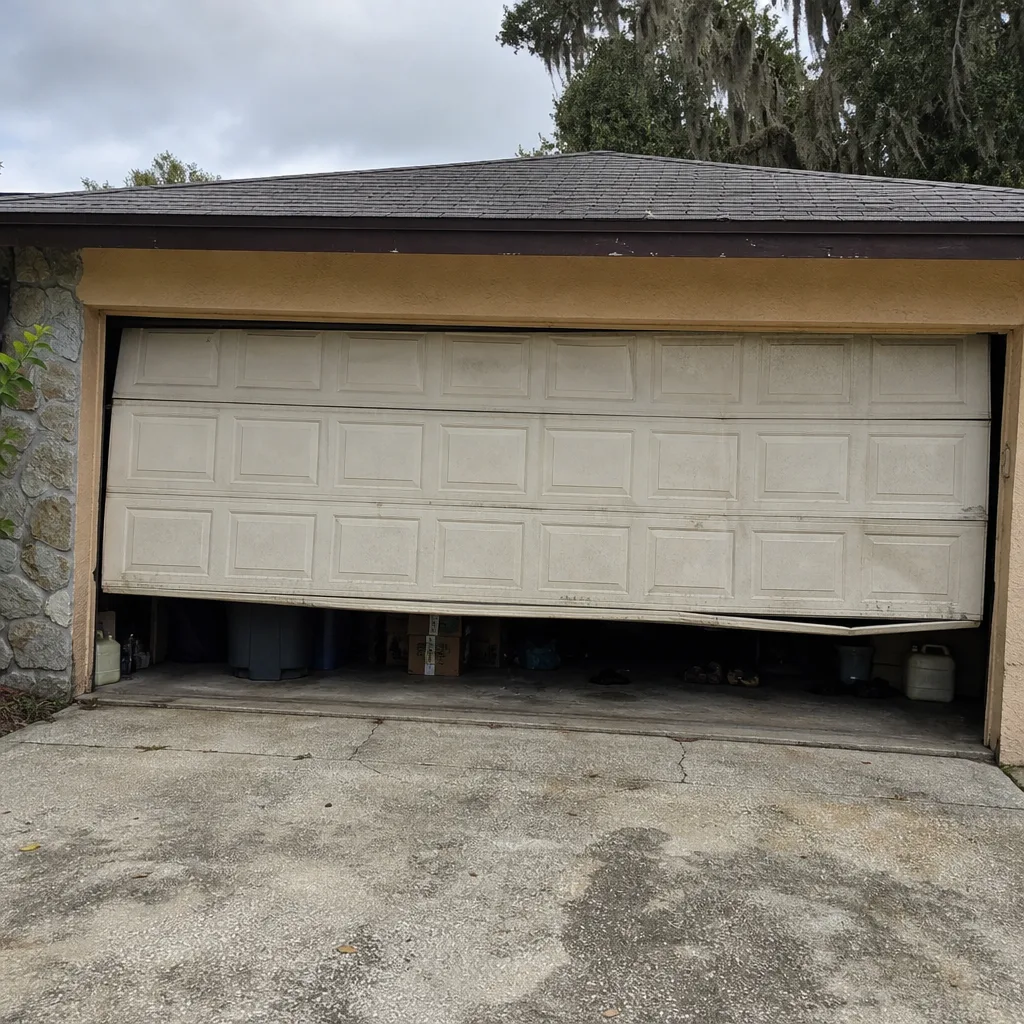 Before
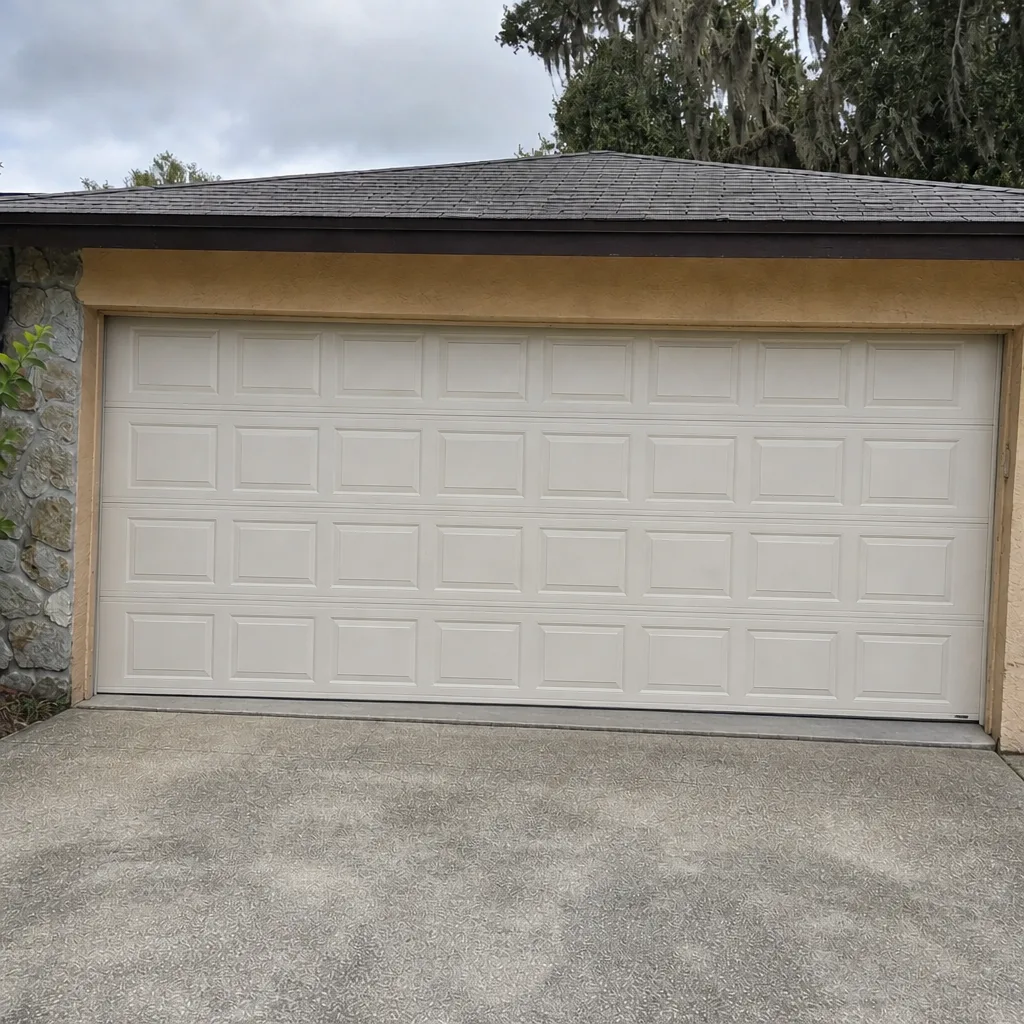 After
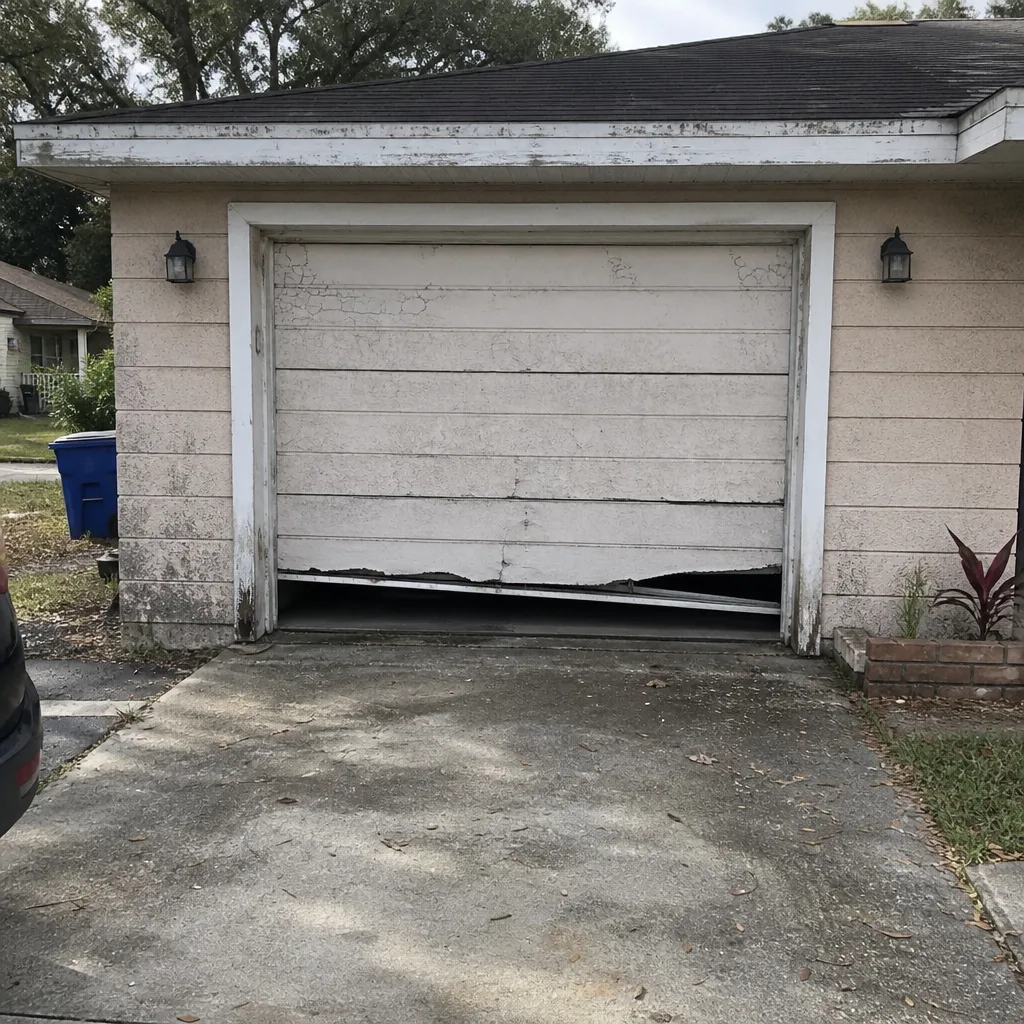 Before
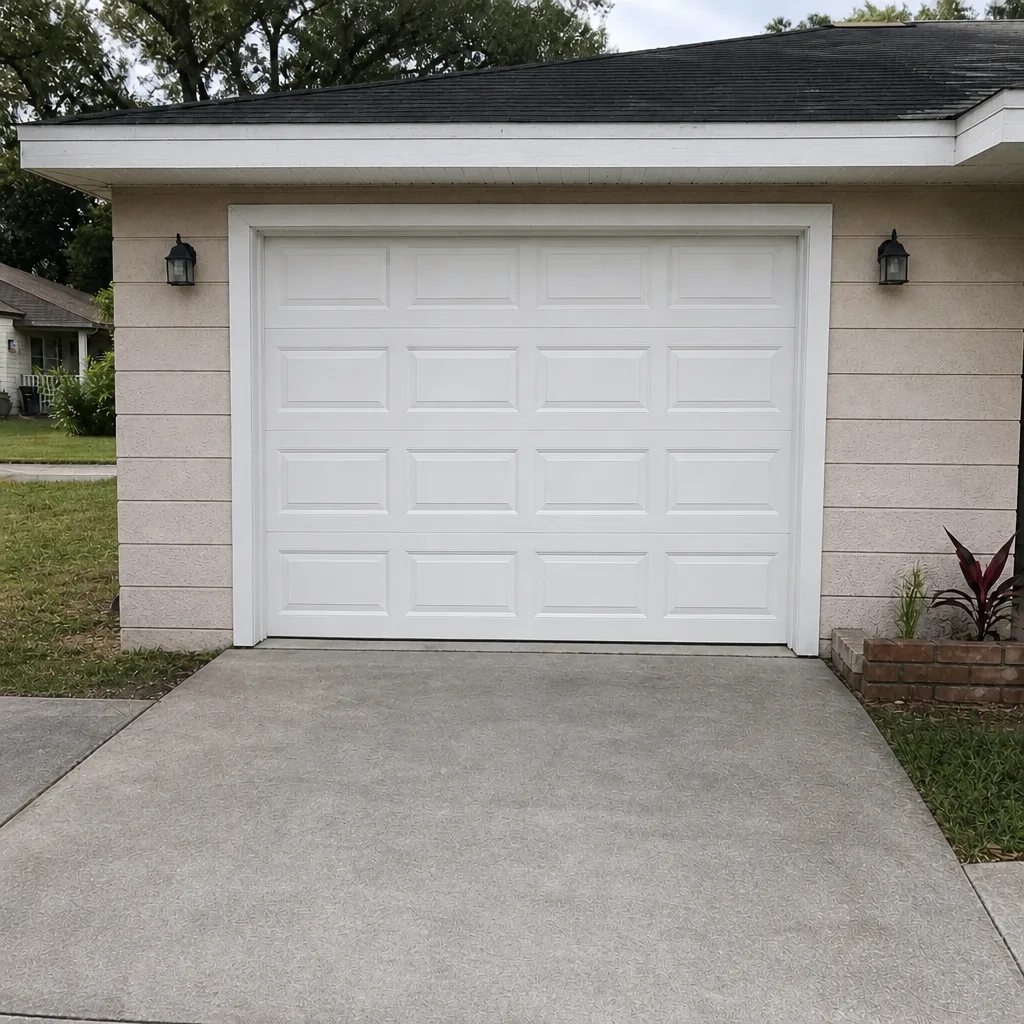 After
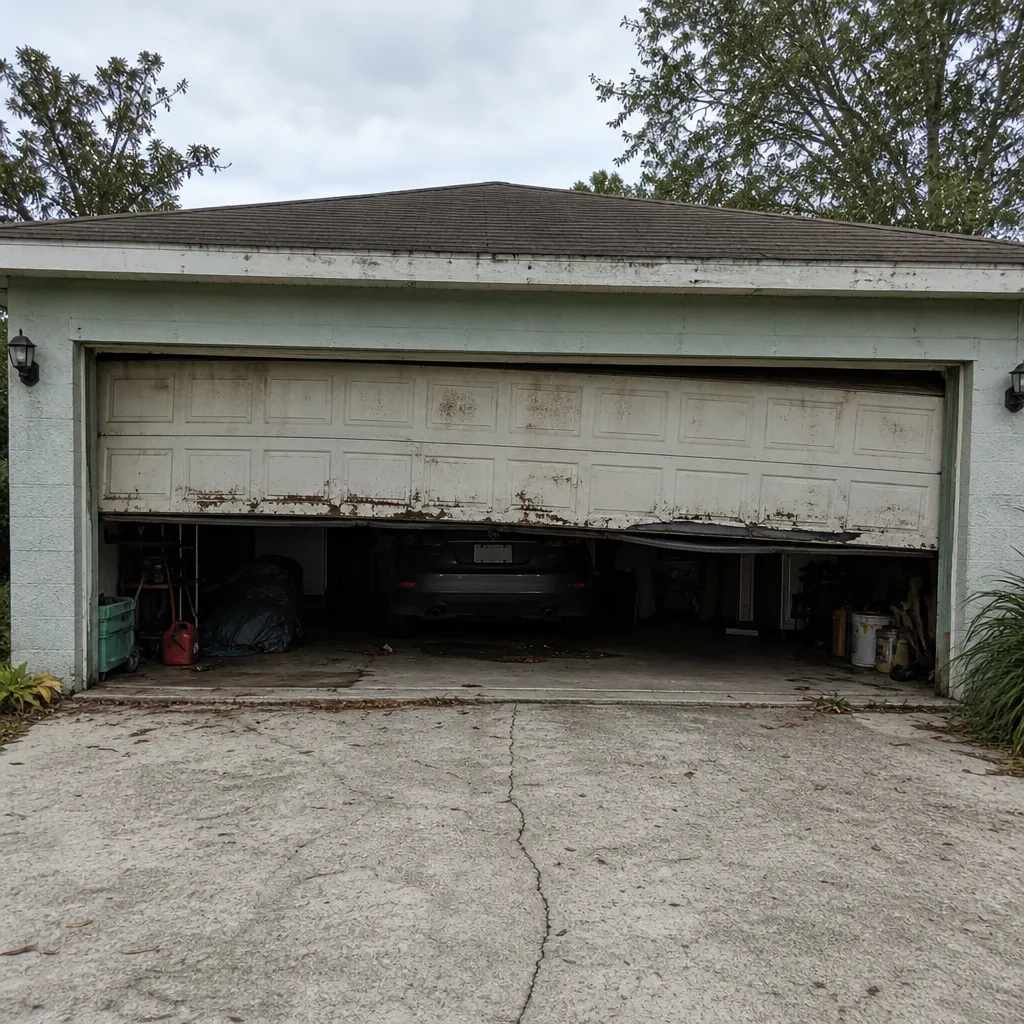 Before
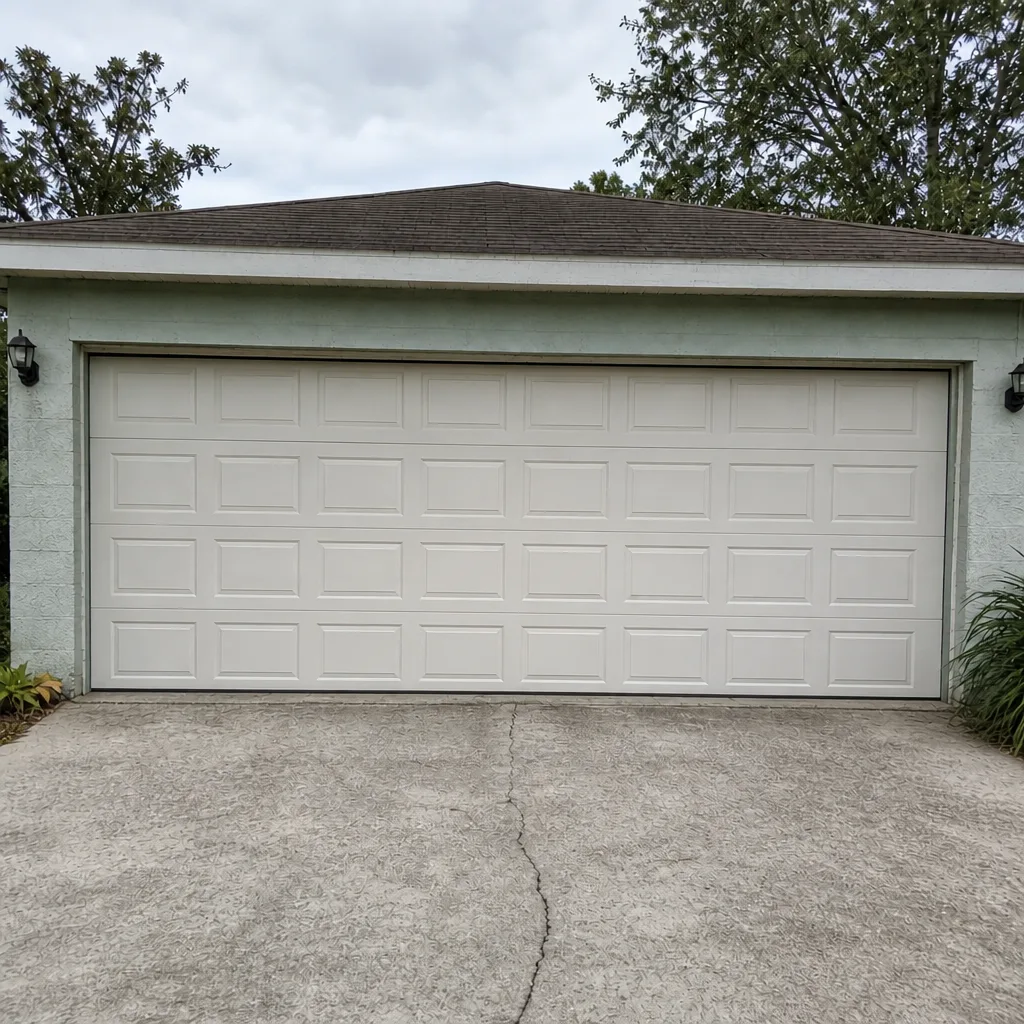 After
When to Call a Professional
Call a technician when the balance fails, when a spring shows visible gaps or a broken coil, when a cable has a broken strand or has come off its drum, when the tracks are visibly bent or misaligned, when the door stops reversing on contact, or when the opener’s force setting won’t hold without being turned up. Call after any storm where the door took wind load. Call before storm season if the door is older or hasn’t been serviced recently. And call when the log shows the same problem recurring, because recurrence usually means a root cause the checks can’t reach. Garage Door Repair Kenwood offers free estimates in Kenwood. Call (844) 699-3427 and we’ll walk through what you’ve found and what it likely needs.
Frequently Asked Questions
Monthly visual checks of springs, cables, rollers and tracks, with a deeper lubrication and opener test quarterly. The wet season, from June through September, is the period that needs the most attention. Storm windows add a pre-storm and post-storm inspection. Fifteen minutes per month is enough for a homeowner’s visual routine.
You can safely lubricate hinges, roller stems and torsion bar bearings with a silicone or lithium-complex product. What you should not do is lubricate the tracks, adjust springs or cables, or try to free a binding roller before confirming the cause. Lubrication is homeowner-safe; springs and cables are not. Call (844) 699-3427 for an exact quote on a professional tune-up – estimates are free.
A worn torsion spring shows a visible gap between coils near the end caps, shiny wear spots where coils have rubbed, or an obvious separation if it’s broken. Extension springs show a stretched coil diameter. Do not touch a torsion spring to check it. Visual inspection only, and a technician handles any adjustment or replacement.
Routine lubrication and visual checks don’t usually affect a manufacturer warranty. Spring replacement, cable work and opener force adjustments often do if done by a homeowner, because those are the safety-critical components the warranty is designed to protect. LiftMaster, Chamberlain and Clopay typically draw the line there. Ask before you start a job you’re not sure about.
Confirm the door closes fully, check the vertical track brackets for gaps, test the manual release, inspect springs and cable ends visually, clear the tracks of grit, and test the opener’s safety reverse. If any check fails, get a technician in before the storm window. A storm-week scramble is the wrong time to discover a failed spring.
Don’t operate the door until you’ve done a visual pass. Check for bent panels, popped hinges, debris in the tracks, cable ends off their drums, and any spring with a visible gap. If any of those is present, treat it as a technician call rather than a next-morning check. Emergency garage door service is one of our core offerings; call (844) 699-3427 and we’ll get a technician out.
The Bottom Line
Kenwood’s climate doesn’t reward a generic maintenance routine. It rewards a sequence that runs from structural to cosmetic, timed against the wet season and the storm window. Check the balance and visual condition of springs and cables first, then tracks, hinges and rollers, then the seal, then the opener. Lubricate with silicone or lithium-complex products, never on the tracks. Log what you find with dates, sound descriptions and photos. Stop at the five technician checks. Do that and you’ll prevent most of the emergency calls this region produces, and the calls that do come will be diagnosed faster because you brought a real history.
If your routine has flagged something, or you’d rather hand the whole checklist to a specialist who works on your brand, call to schedule a free estimate.
Call (844) 699-3427 for a free estimate. We work on LiftMaster, Chamberlain, Genie, Clopay, Amarr, Wayne Dalton, Craftsman and Raynor equipment, and one call covers repair, spring work, opener repair, installation and emergency garage door service. Our technicians have up to 8 years of experience, and every price is quoted and agreed before any work starts.
Written by the team at Garage Door Repair Kenwood.